I am interested in hearing how people take their dslrs (digital single lens reflex camera) onto multi-pitch-rock-climbs. I have carried mine up in a small pack, but I end up taking hardly any pictures, since it is so cumbersome to get to it. What do professional climbing photographers/videographers do?
-
3To be honest, I switched from a DSLR to a m4/3 setup just because of the inherent awkwardness of a big heavy DSLR on long stuff like that. Depending on what DSLR you're using, moving to m4/3 can often be only a slight image quality reduction.– Paul KirbyCommented Dec 19, 2012 at 17:14
-
2I just carry a point-and-shoot in my pants pocket when I'm doing a multipitch route, and leave the DSLR for sport climbing. But you can tell that from the quality of pictures I take on trad climbs. :( So I'd be interested in hearing an answer too– DavidRCommented Dec 19, 2012 at 18:16
-
Point and shoot all the way - in fact we use the Fuji W series, as they are waterproof as well.– Rory Alsop ♦Commented Dec 21, 2012 at 17:07
-
I was thinking about adding a peak design capture clip at the back of my harness as well as another strap to secure the camera in case of bad manipulation. Anyone did try that?– PuckCommented Apr 18, 2018 at 5:46
7 Answers
I wish I was still in Yosemite for this one. I used to climb with some fairly well known climbers back in the day, "Big Wall Pete" Takeda, the Parker Brothers, even happened on Peter Croft after he taught a class and we climbed for about 45 minutes. Big Wall used to work for "Climbing" and did a number of photo shoots, I know how they get the pictures from above and away from the rock using bivouac style set ups, but I never asked about taking the big cameras up. We used to take cheaper cameras up. We would tape a loop on them, throw a biner on it and drag it up that way. Almost always wrapped in a protective padded bag attached separately. If you drag it behind you and in its own case, it is easier to get to than say in the center of your food bag. Just remember that the camera is never to come un-clipped. You could rig up something with a 6' sling attached to the back of your harness and then a second carabiner closer to the camera and clip it to say your hip, with a camera bag for protection. This will give you quicker access, if that is an issue, but at the cost of being in the way.
The biggest reason why we stopped taking cameras up had more to do with the relatively lame angles you get from taking it from another climber's perspective. Either you get their feet or the top of their head. To get better shots, you need a separate team climbing ahead with bivouac gear to push you away from the rock, this will give you a lot better angle to shoot from. And if you are going to be taking a DSLR, I am guessing you are a lot more serious about the shots, so you might want to look into getting that set up figured out. For quicker and easier shots, you can lock off and stand horizontal off the rock. This is easier, and more of an angle than just hanging, but might not bring justice to taking a DSLR up the rock.
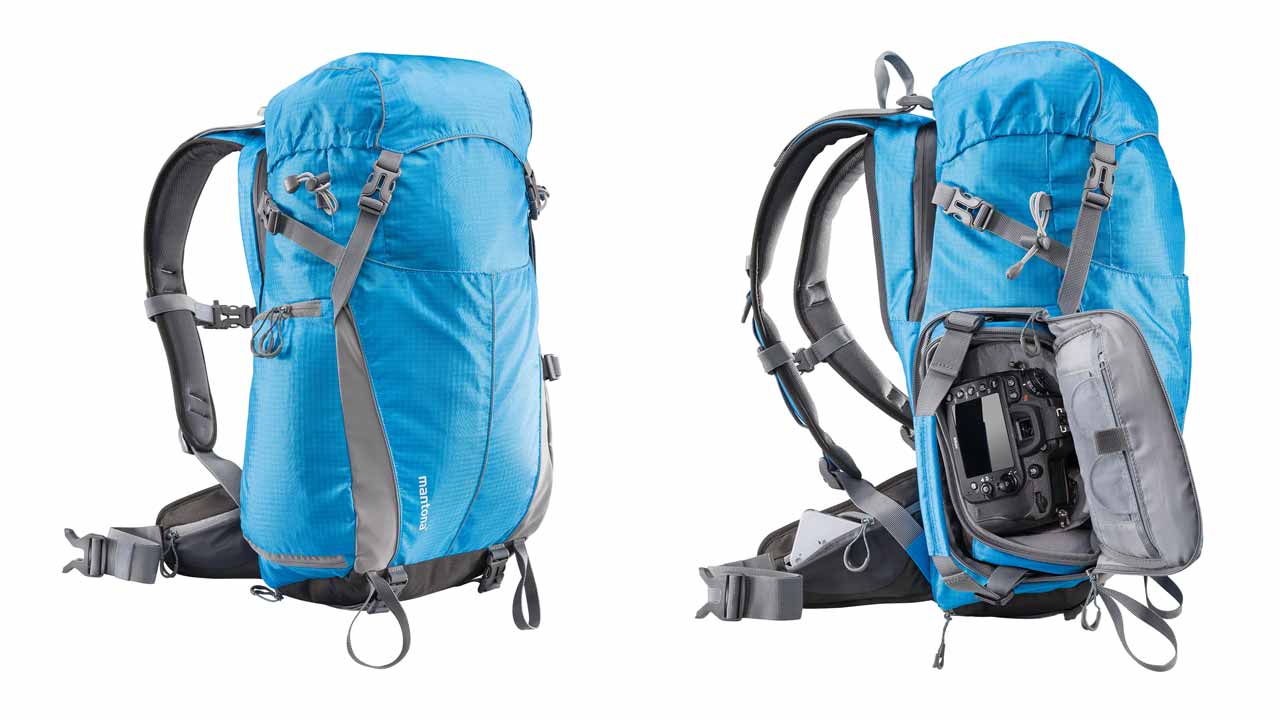
I recently got the Mantona Elements, an interesting hybrid camera/trekking backpack:
The lower part of the pack contains a small removable camera bag, while on top of it there's some space (not too much, though) for gear, food, clothes, etc. Alternatively, you can reconfigure it without the camera bag to use the entire space like a regular backpack.
I'm pretty happy with it, it's comfortable to carry and not too large.
-
That looks like a really slick pack for carrying a camera. The best part about it is it doesn't look like a camera case so I'd be more inclined to take it places that a camera case would look out of place.– ErikCommented Jan 31, 2017 at 16:09
-
@Erik: it's of course very much a compromise. The camera bag part fits probably one full-sized DSLR and one to two additional lenses, depending on their size. The backpack part is then enough for a thin sweater, a small water bottle and some sandwiches, and that's it. Commented Jan 31, 2017 at 16:19
-
2I would not feel particularly inclined to change lenses several hundred feet above the ground, but maybe that's just me :) Commented Sep 25, 2017 at 12:39
My strong recommendation is one of the BlackRapid straps.
Black Rapid - THE WORLD’S MOST TRUSTED CAMERA STRAP
They are solid products. Need some checking before setting off to make sure it's connected securely. I'd personally probably add some sort of redudancy to the system if I was to go climbing with it, but I've done long hikes and it keeps the camera out of the way until right when you need it.
-
I've used one. It is OK under a rucksack, and doesn't bounce on the stomach while walking. I keep the camera in a plastic bag with bubble wrap inside for extra protection. (Also avoids stares.) Commented Jun 16, 2015 at 11:26
-
In a similar vein are Peak Design's stuff - there's a lot of debate in the photography community, but I think Peak's is generally better designed. Commented Nov 23, 2017 at 5:23
I've used a Black Rapid (clone) shoulder strap and added a carabiner that I attach to my belt loop to keep it from swinging or banging against the rocks.
I also connect the carabiner to the clip that attaches the camera to the strap so it holds the camera firmly at my waist.
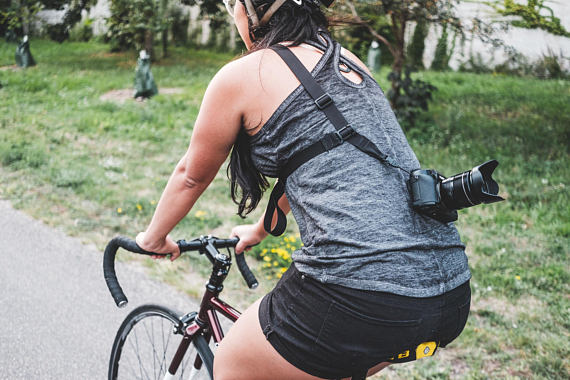
I use this strap for biking:
It's a crossbody strap with a stabilizer that keeps the camera securely on your back while biking. It's perfect for mirrorless or compact cameras, but could hold a DSLR. It works for skateboarding, hiking, and I imagine it's great for climbing when you want to keep the camera out of the way with both hands free.
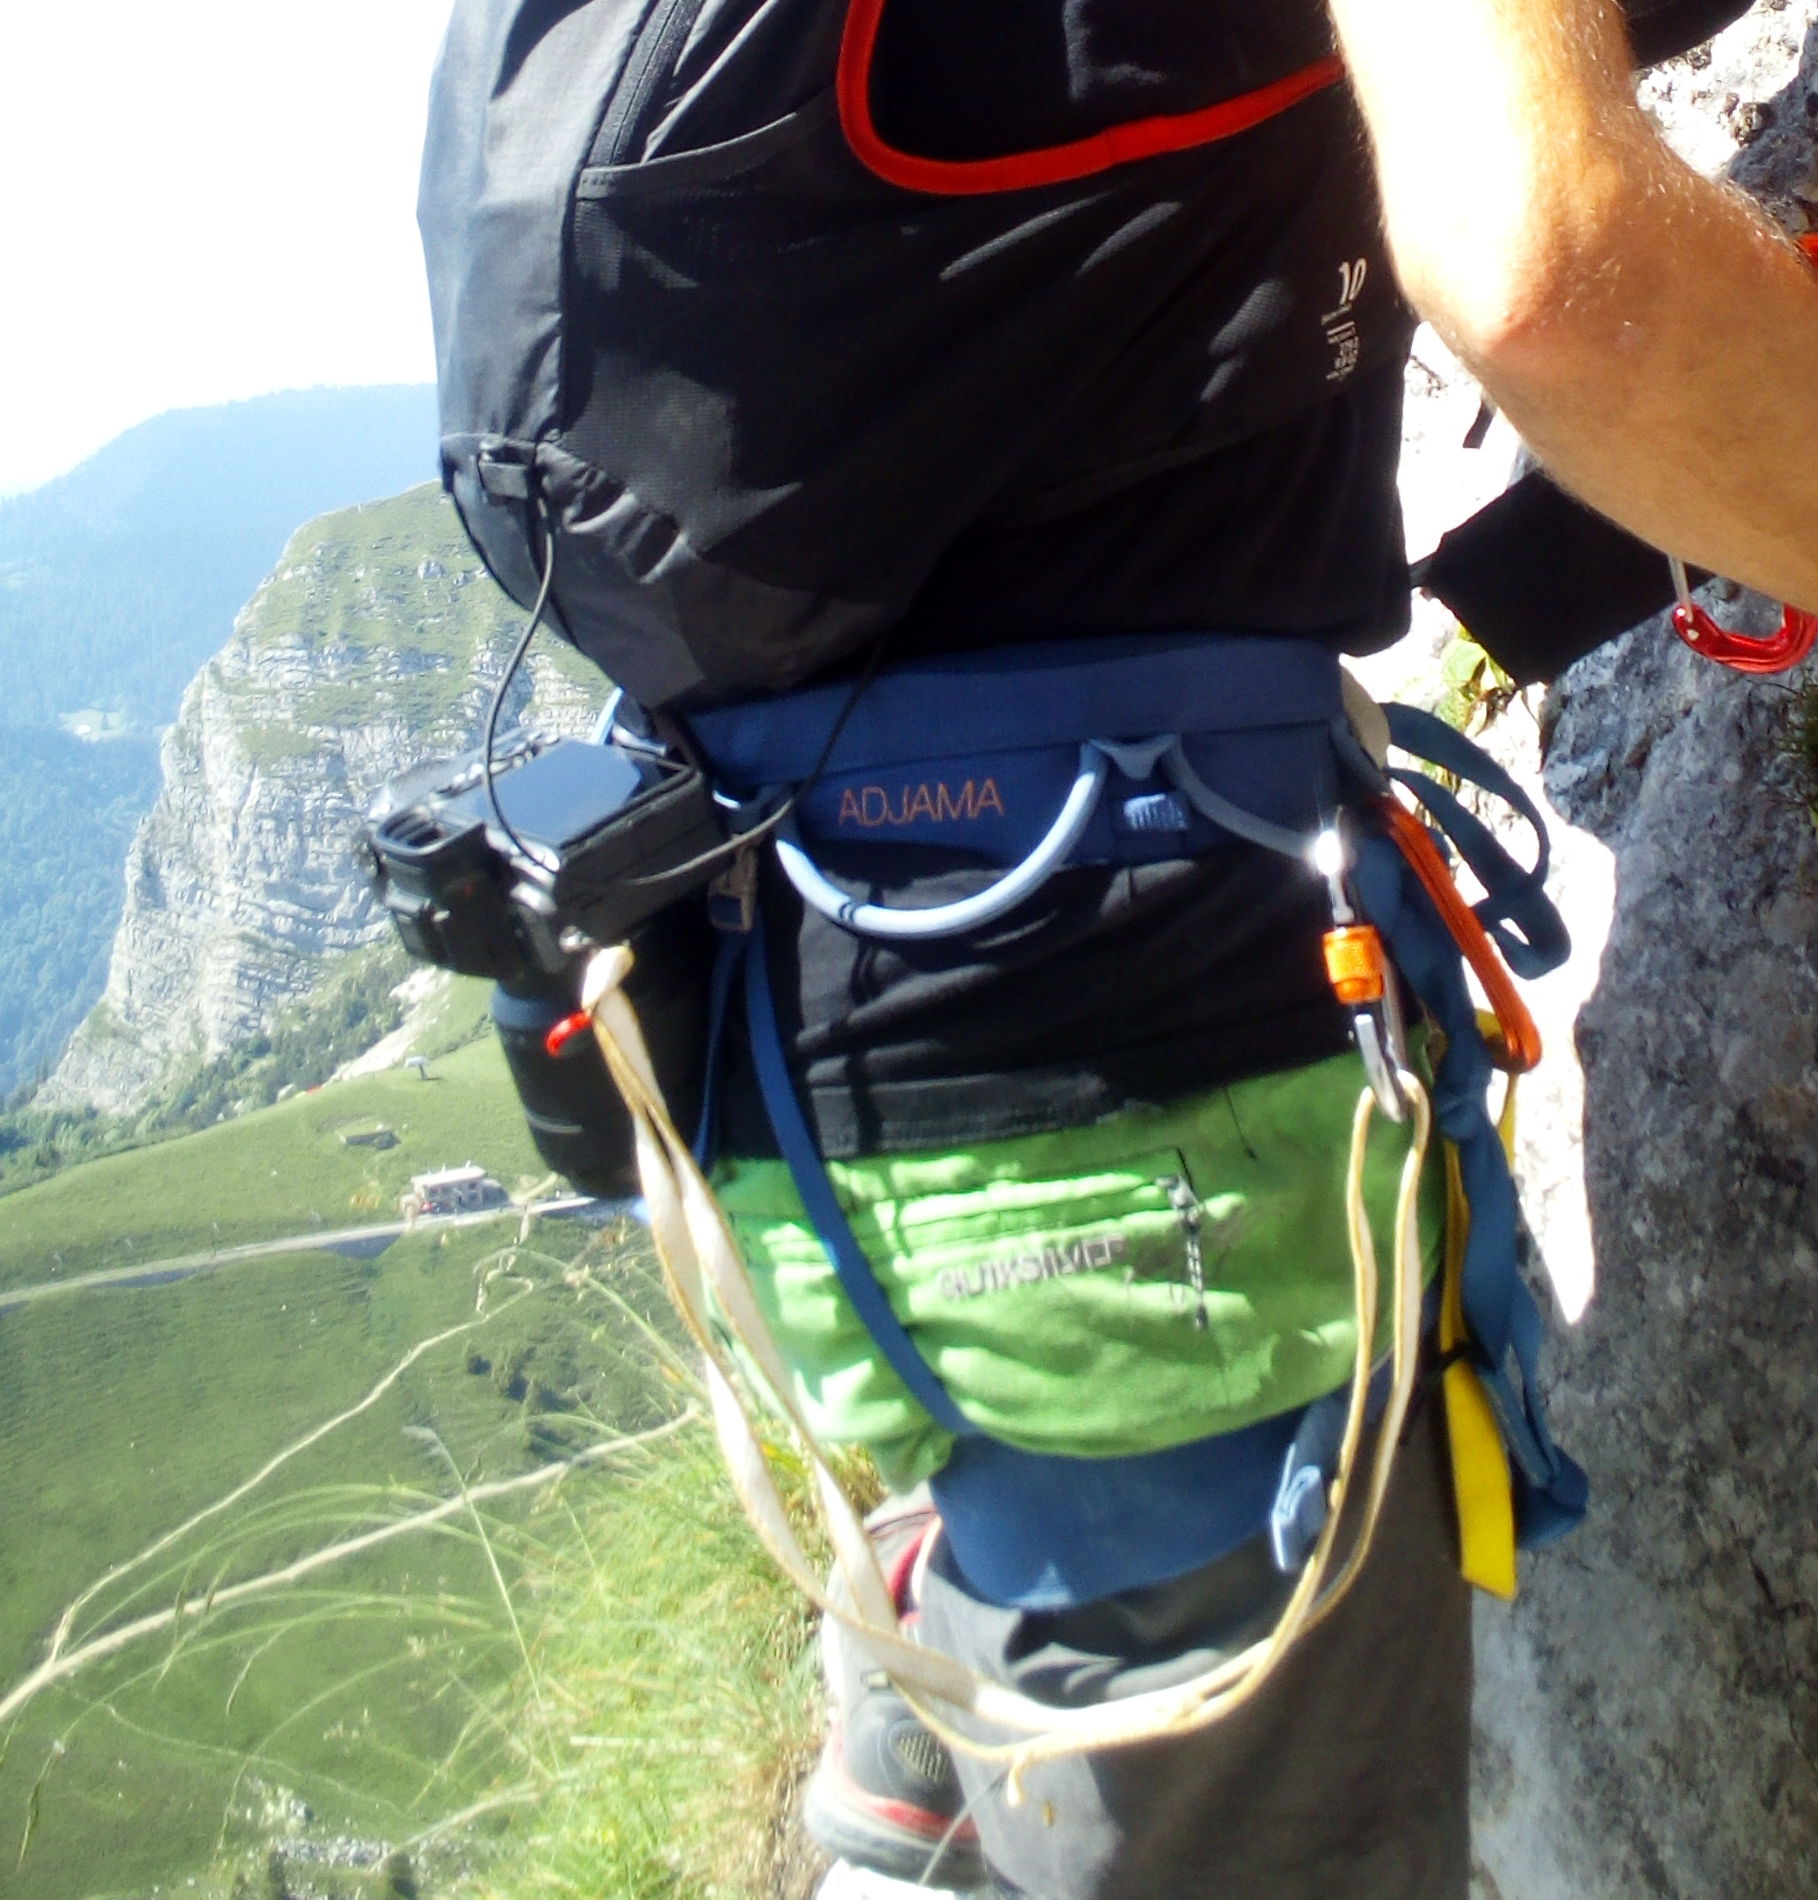
Just coming back from a climbing weekend where I manage to bring my camera around the rocks: I've added a peak design clip at the back of my harness and a simple strap. The clip allow quick and easy manipulation of the camera, and the strap is only to assure not dropping the camera.
With this configuration, the camera is exposed, therefore I wouldn't advice to lead a hard route because in case of fall, the probability to break your camera would be quite high.
Here is how it looks (sorry for potato image quality, the good camera is on the picture...):

After a couple of usage, I'd add this method is really nice because it is really quick to be ready to take pictures. The downside is that it is not that easy to clip back as you don't see what you are doing.
-
1Hi Puck! Welcome TGO! Would be great if you could add a pic of the same for others to benefit from this. Commented May 16, 2018 at 9:21
I use the Manfrotto Offroad 30L pack. This does have a very good adjustable & comfortable fit and works well when you have a loaded harness. It is not too bulky and I rarely need all the space even with overnight bivy and all inside. The camera gear stays at the bottom in it's own are, (only room for camear plus 2 lenses so Canon 80D 12-28 f4 & 70-200 f 2.8), I tend to carry a little more gear than I should but it's no difference in reality & the bulk is tideied away. An APS-C DSLR is the right size for me, cold wet hands and a micro 4/3 doesn't work. I have the PD Capture Clip V3 also but haven't yet found where to put it when Scrambling / Climbing, but for Multi-pitch the DSLR with 12-28 f4 is within reach to get out but not so easy to put back in, but when the photo is worth it I can do it. Actually for climbing this works very well, it is the tricky scrambling which I have to plan better for with this setup.t is a little larger than the Mantona Elements and the same as one of the LowePro's. I'm so happy with mine I have two! When I need more camera gear I have an additional insert in the top and still enough space for overnighting up top.

